This example shows how to create a simple Weld Builder job for a weaving fillet weld.
Open the Weld Builder application

Start Page 
Create Job - If the Program Page doesn’t open automatically, click the Edit button.

Job Manager 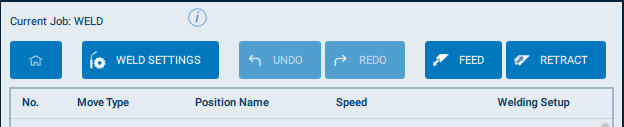
- create a weld setting with the name
weld
Create Weld Setting
- create a weld setting with the name
Depending on the used welding power source there have to be set a different number of settings.
Please have a look which parameters are displayed in the Weld Settings Details.
Welding Power Source Settings - Assign your welding power source to a valid job number
- Set job no to this chosen number

Set Job Number
- Assign your welding power source to a valid program number
- Set program no to this chosen number

Set Program Number
Set Weld Settings ( Weaving Weld )
- Activate Weaving Weld
- Set amplitude to
2 - Set frequency to
2
Weaving Weld
Press Back to go to Program Page
Add 4 positions

Create 4 positions Position Description [1] initial position Initial position of the robot in free space [2] weld start position Start position for welding with 45° torch angle to the component [3] weld end position End position from welding with 45° torch angle to the component [4] initial position Initial position of the robot in free space 
Add positions Edit weld position
- select line
3 - click Edit button
- change speed to
60cm/min - change Welding Setup to generated Weld Setting Name
weld
Edit weld position
- select line
Build and Test job
- check if Job Type is Dry Run
- click Build button
- check if
Servo powerison - click Test Start in Test/Run Job panel

Test run